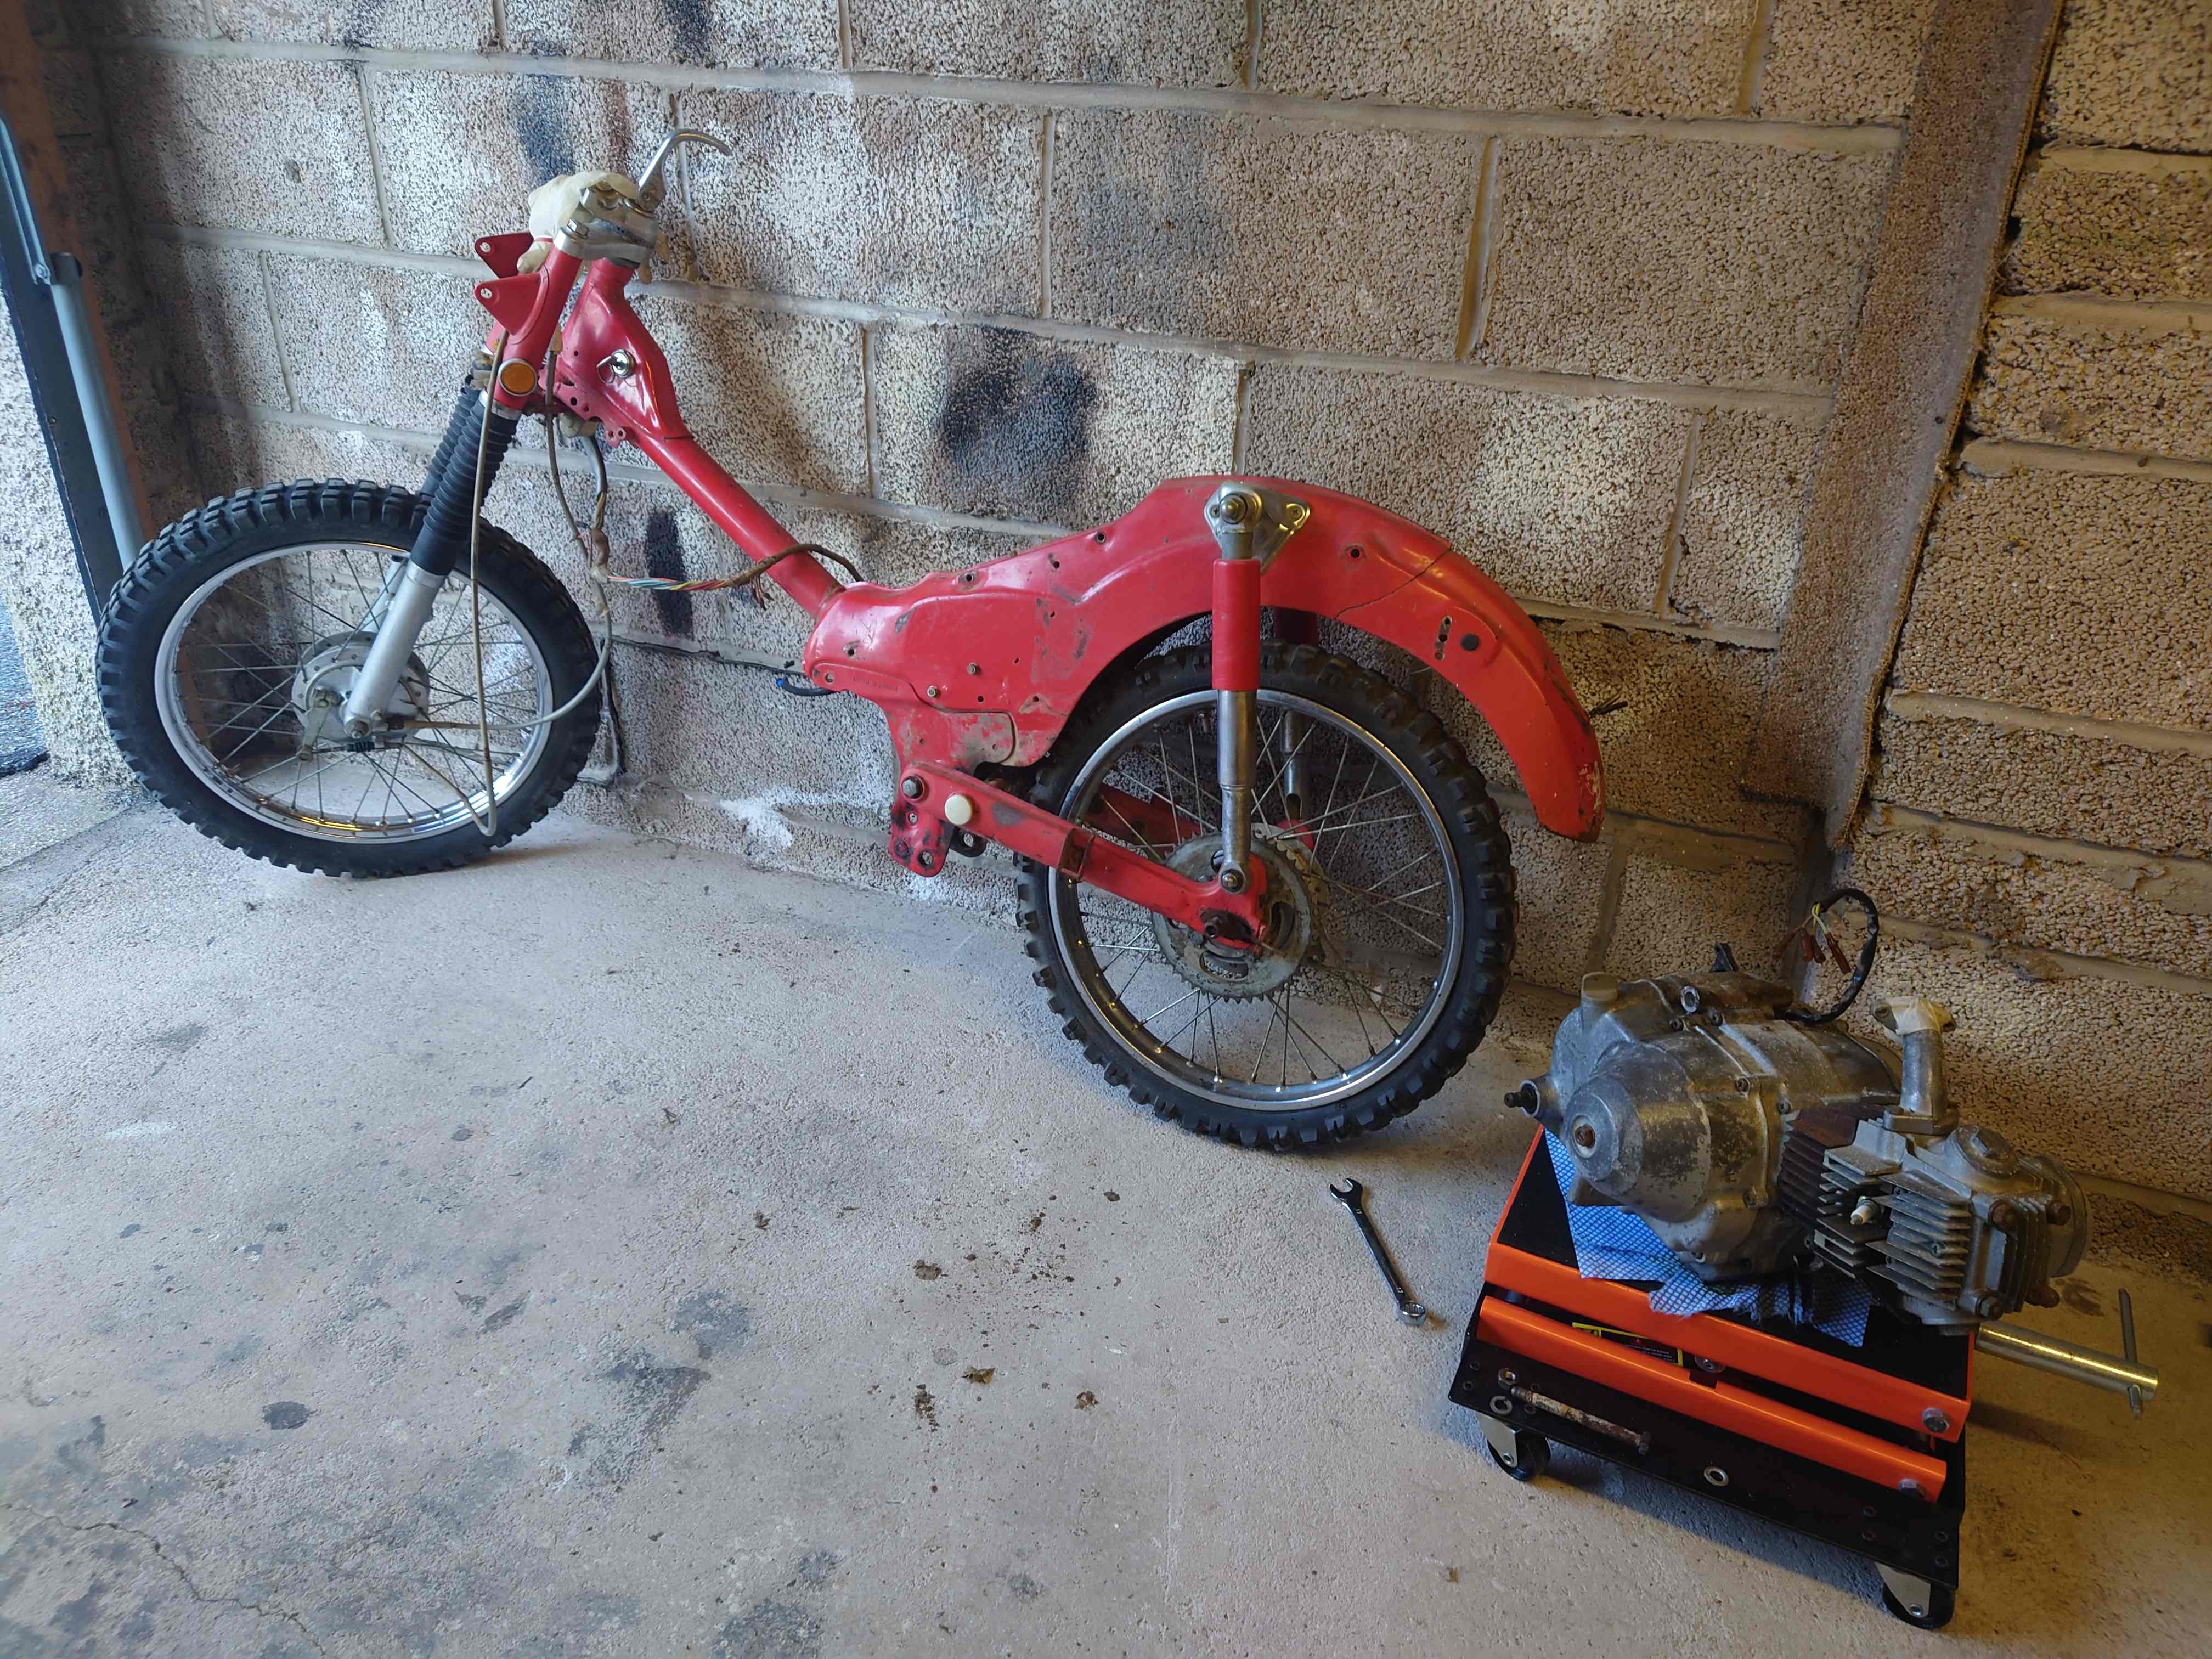
The first picture I took of the Cub has my car's reg number in there so obviously I can't post it. Instead, here's a picture of what's sitting in my garage today.
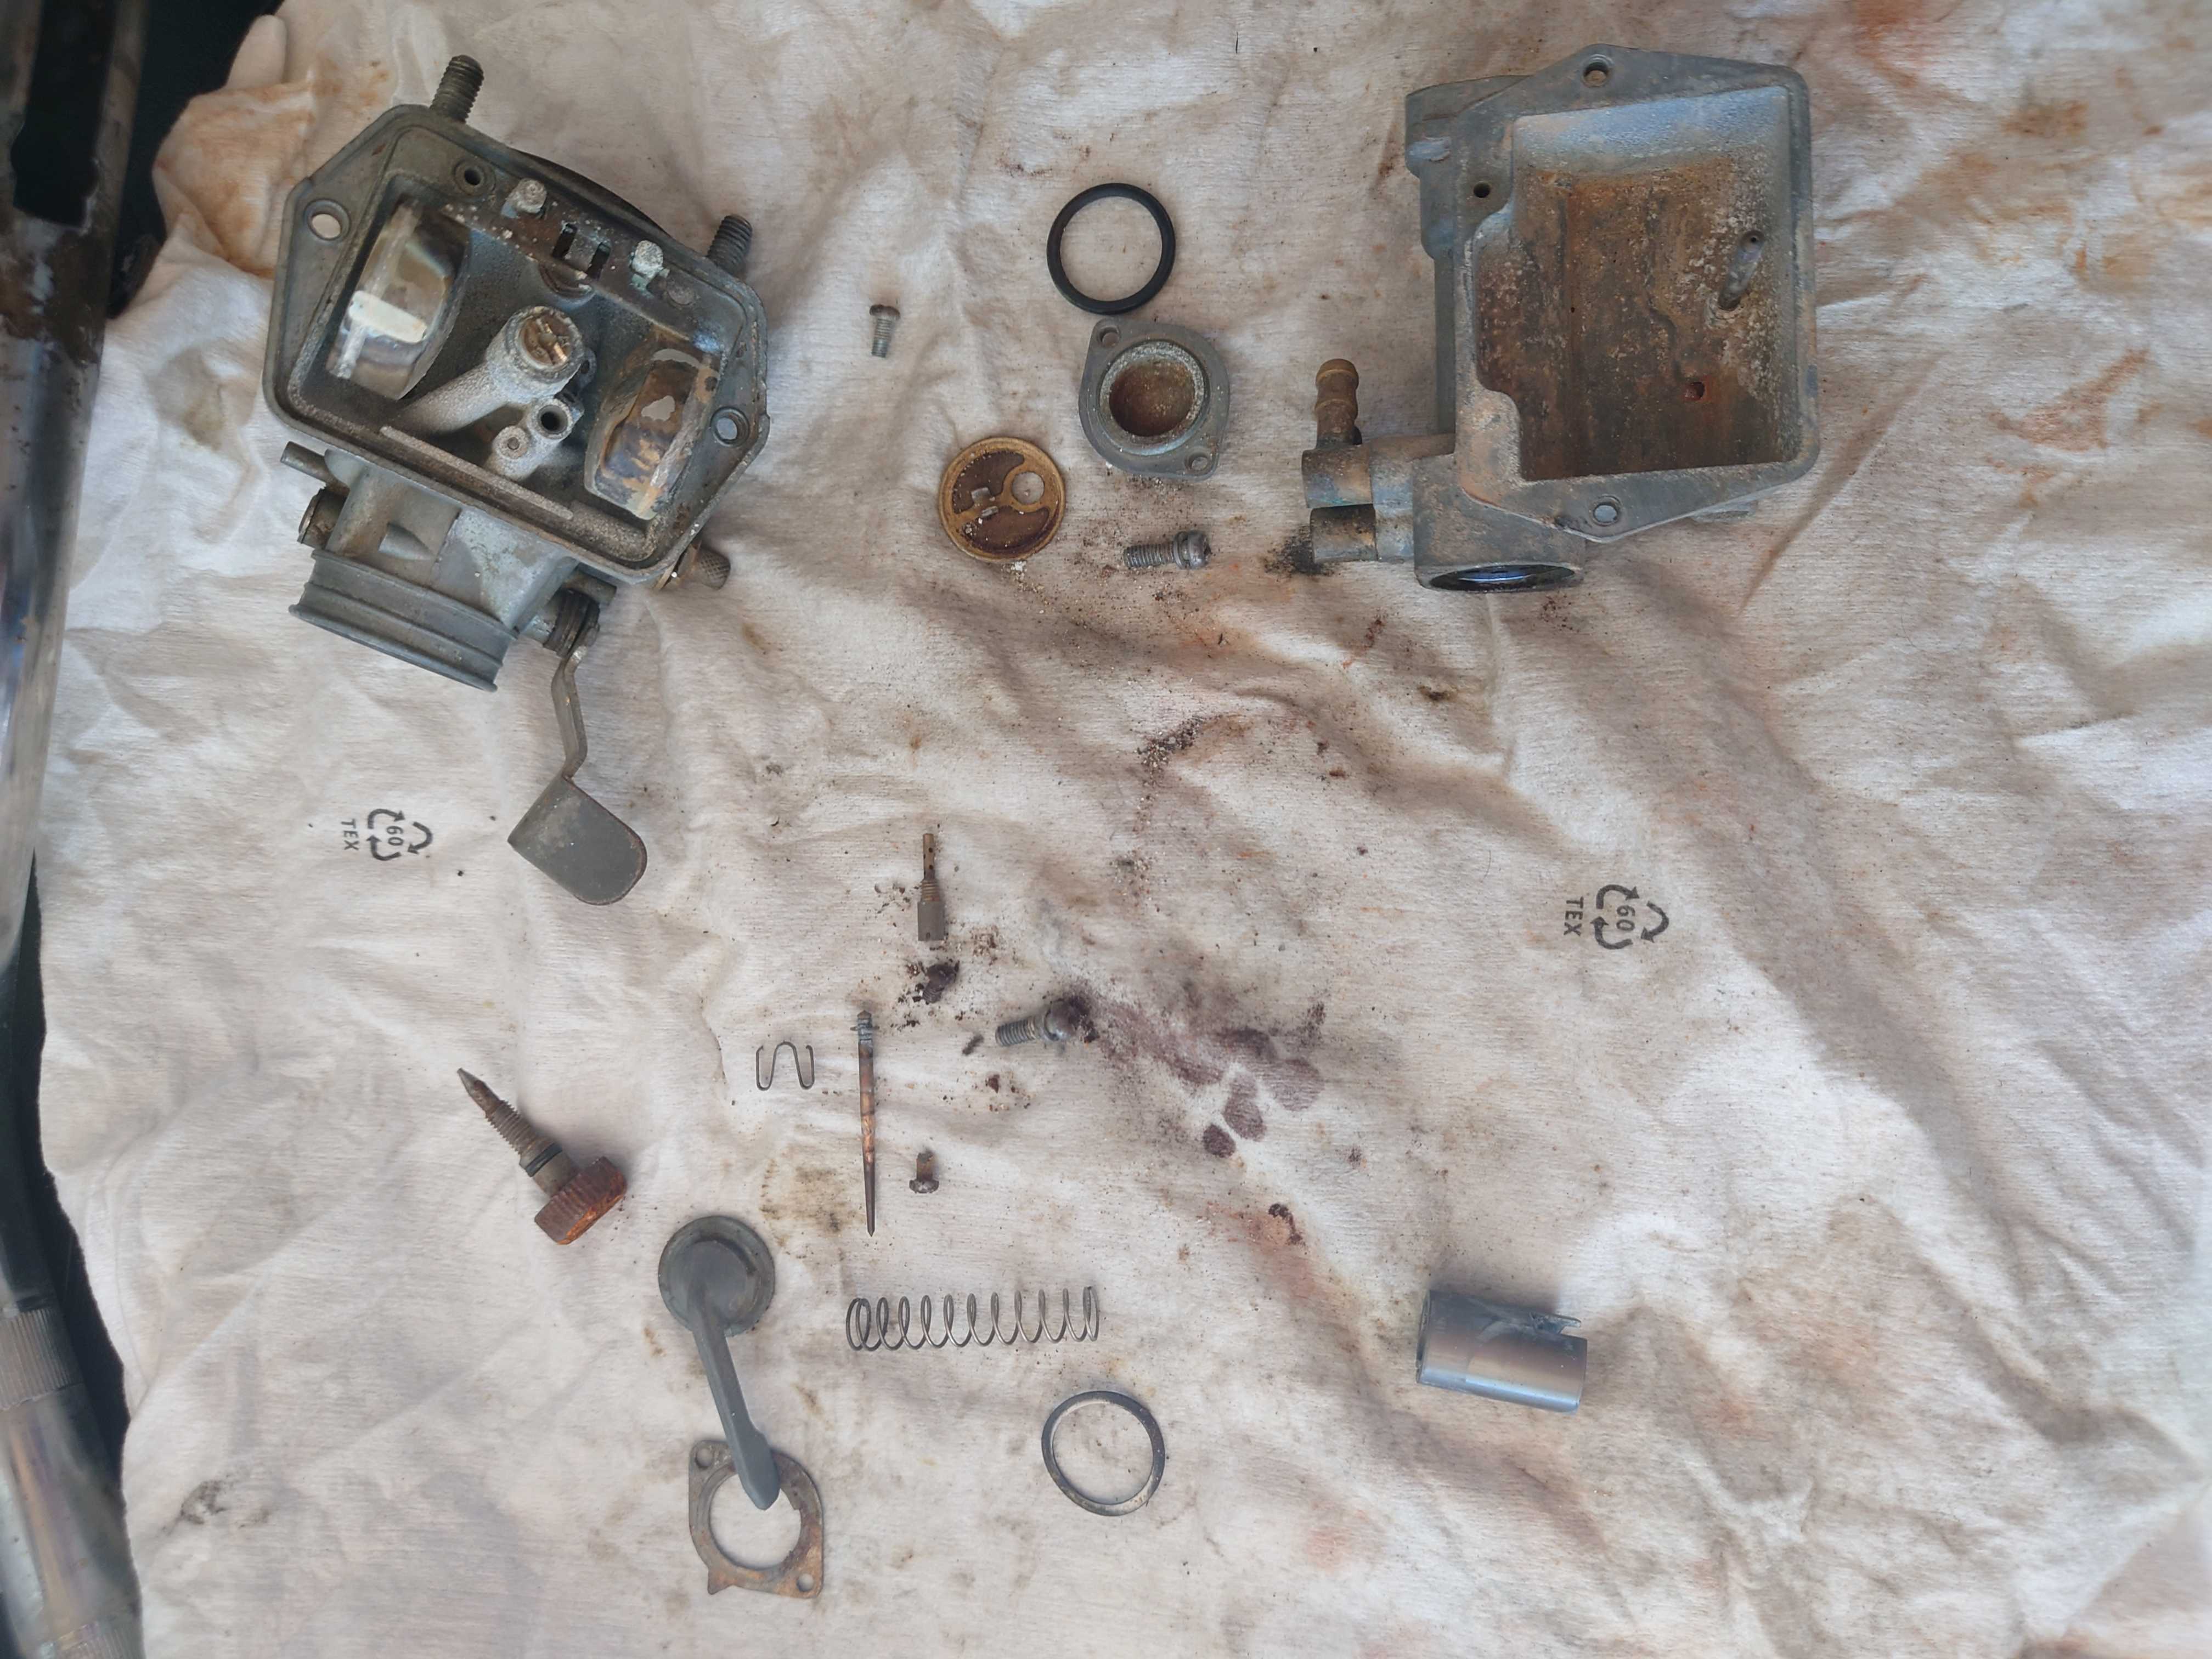
Well, at least the advert had specified that it wasn't seized. The carburettor is sitting dismantled on my workbench and various body parts are put away elsewhere. Let's start with some of the obvious problems when I first took a closer look at the bike.
Et cetera, et cetera, et cetera... You get the idea. But I immediately felt taken by this beat-up little Cub and set to work straight away. I began by removing everything from the bike that seemed accesible. Off came the seat (which went straight to the tip), the fuel tank and the luggage rack, followed swiftly by the footpegs, front fender, the side stand, and a few other bits. I drained the oil and broke off the old chain but kept it for later so I could check the length I would need when buying a new one. After some fiddling about I managed to disconnect the electrics from the handle bars and the modest speedometer and put it all to one side. Some elbow grease and a lot of WD40 later, I had pretty much what you can see in the picture above, though the engine and sump guard were still attached.
By now it was obvious just how big the job I had taken on really was, so I did what any sensible person would do at this point. A few days later, a shiny new Clymer manual was in my hands and everything to know about these Honda singles was contained within. If anyone else lacks the experience I do and wishes to work on nearly on Honda Cub made between 1965 and 1999 I cannot recommend buying this enough. The first thing it's likely to tell you (or at least imply) is that you don't own enough tools or various consumables. As I'm sure you can tell, the bill was already rapidly climbing and would only continue to do so.
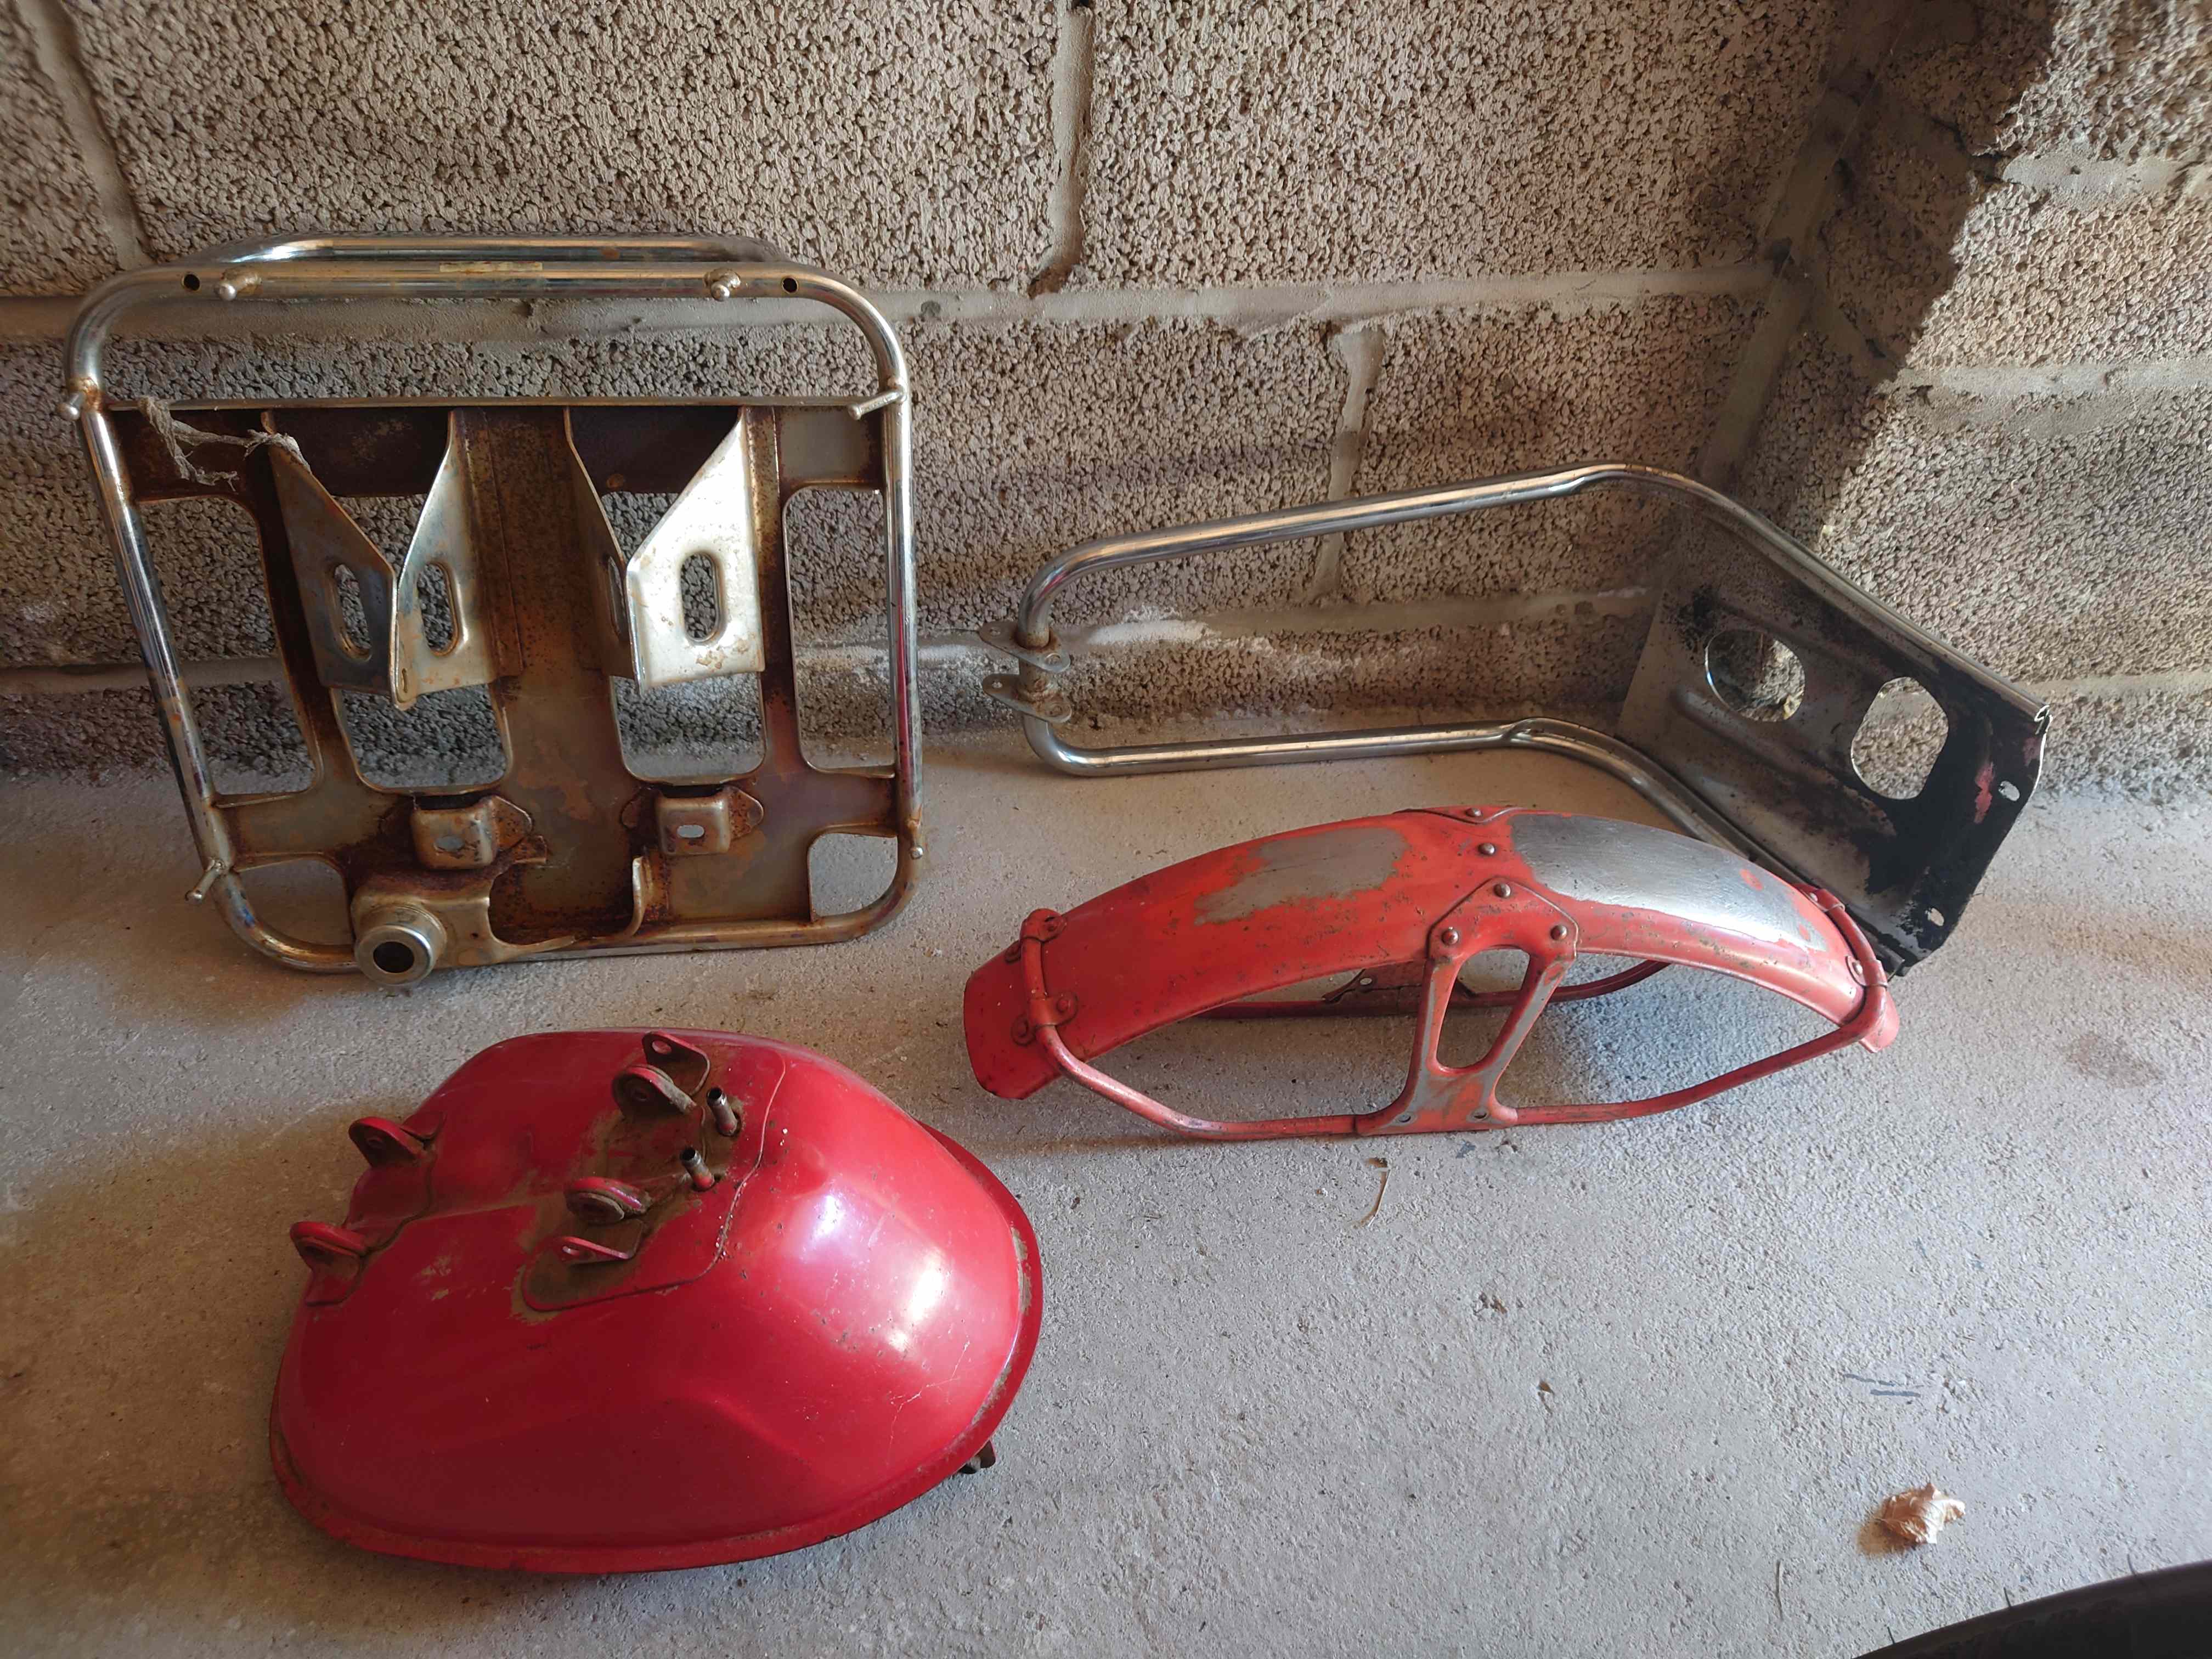
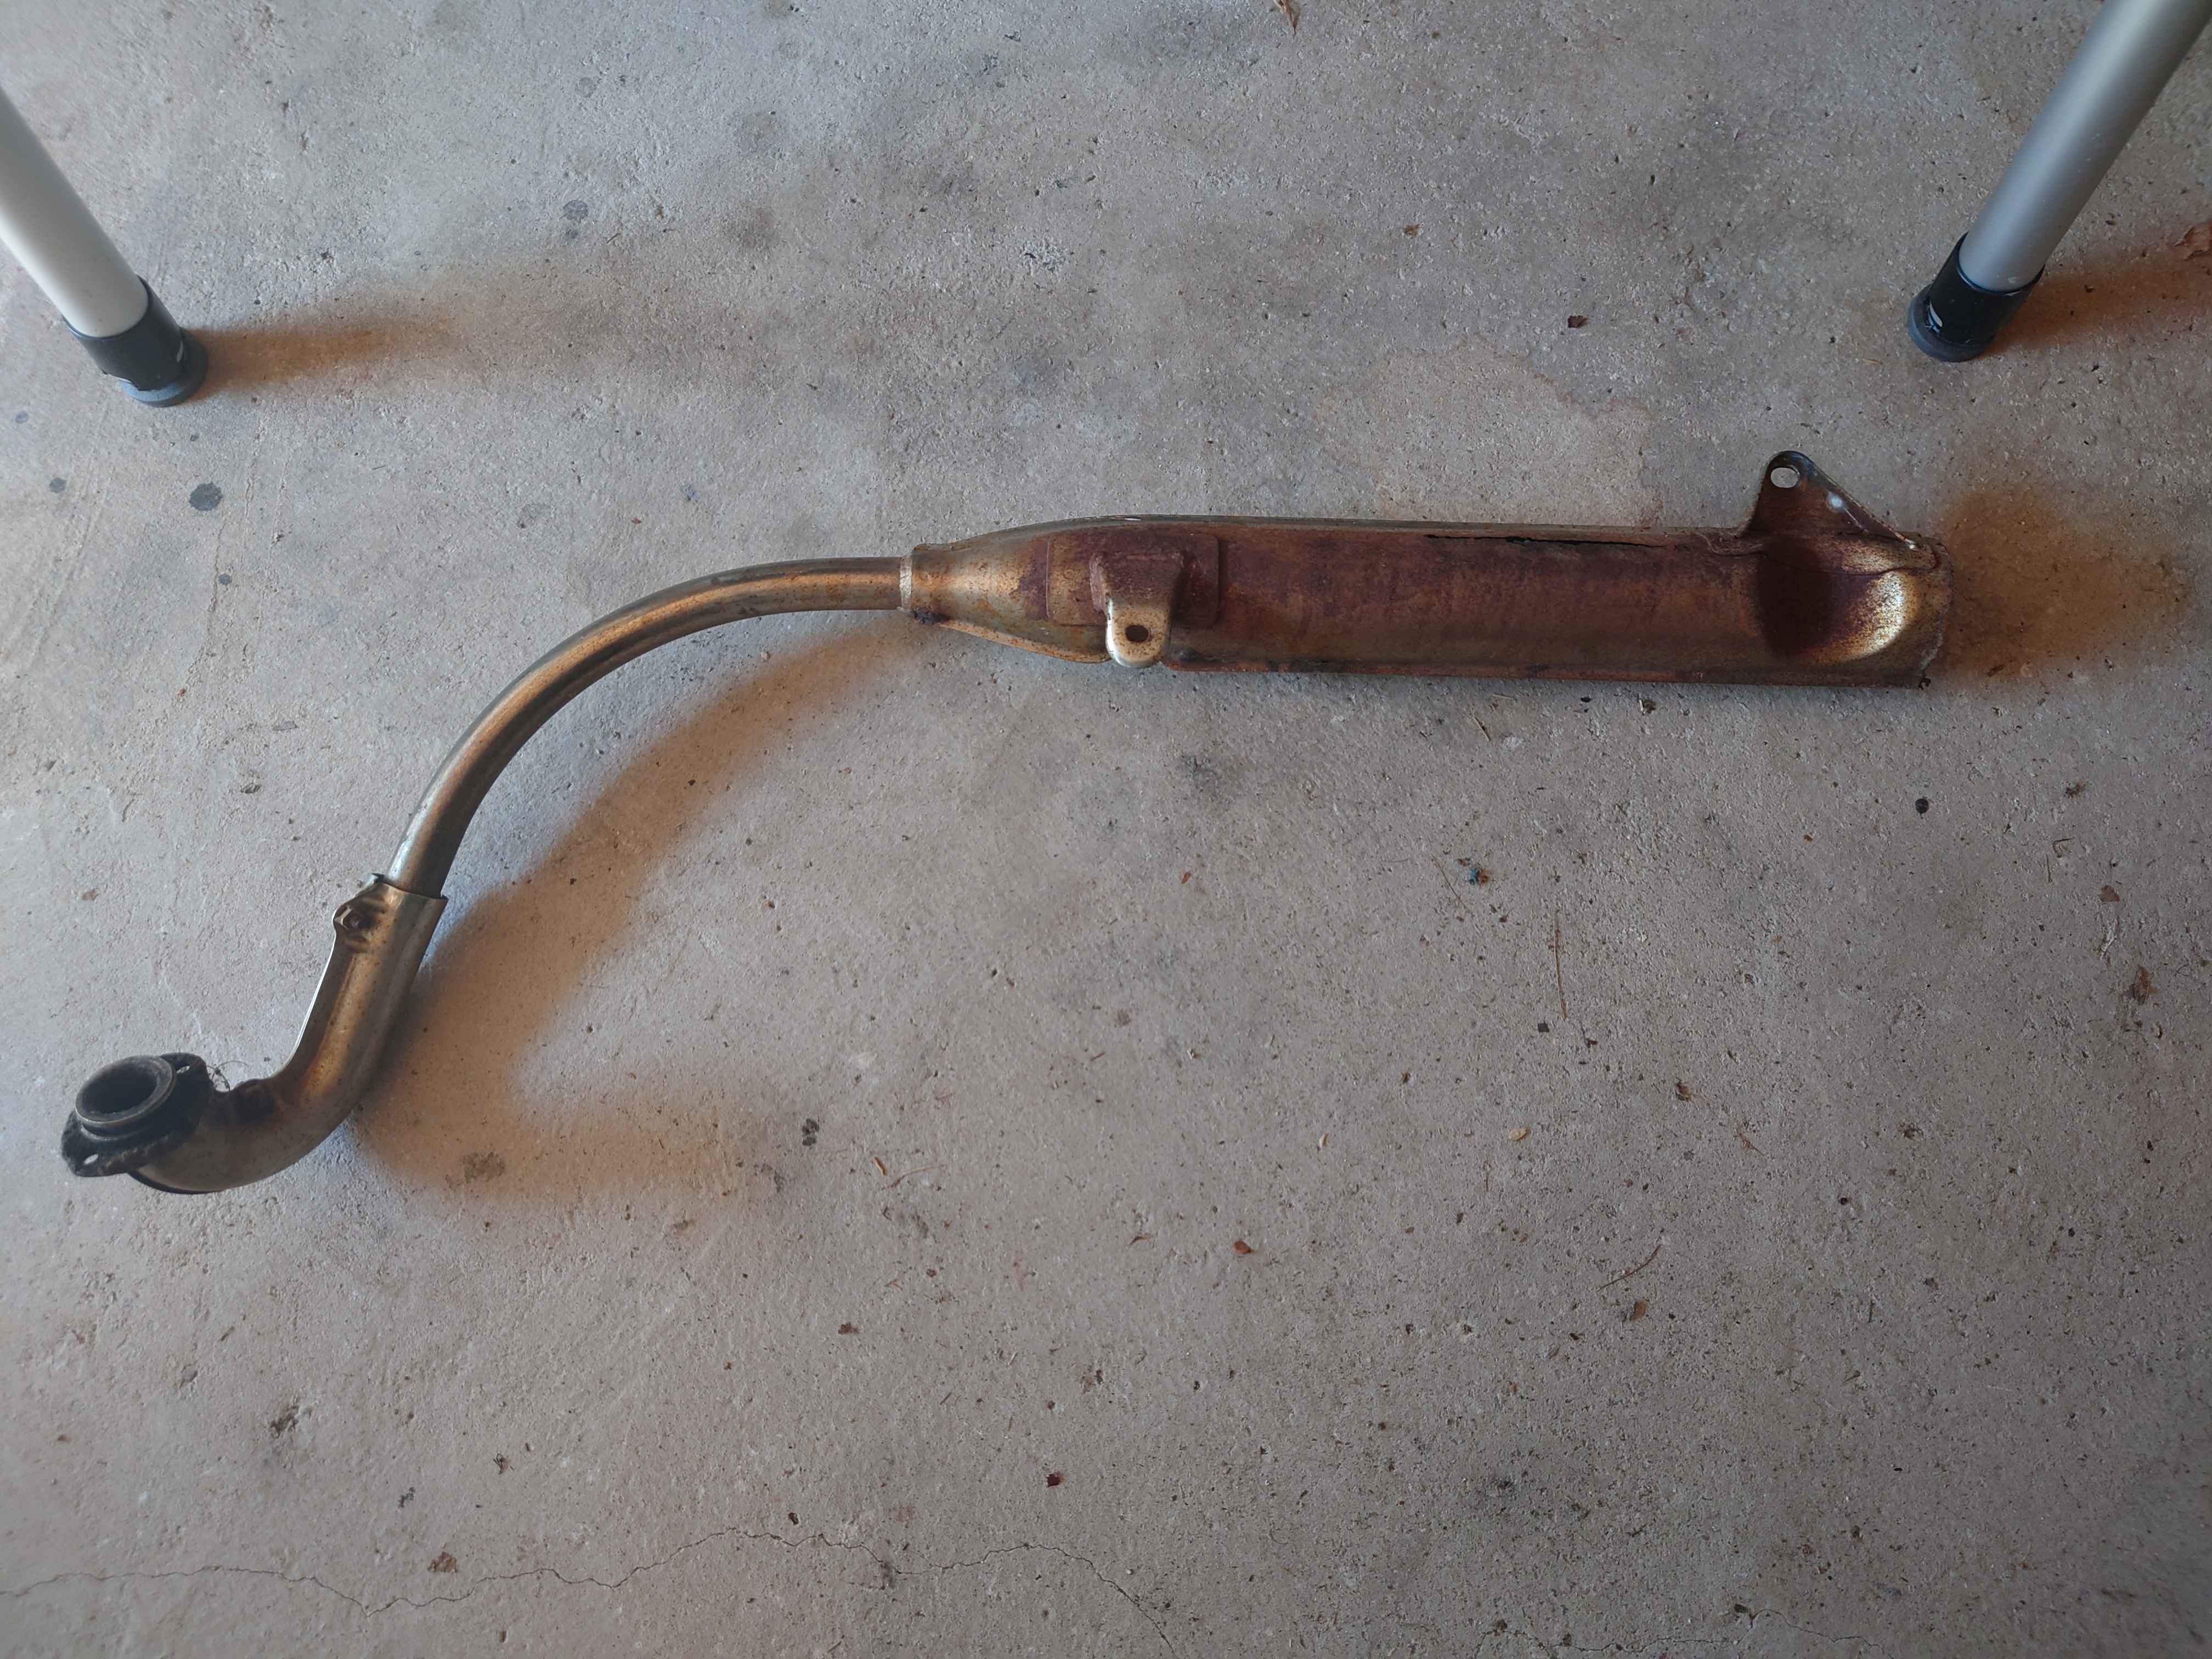
Anyway, this is how my Cub got to resemble the picture. That's where I am now. In the following posts, I'll describe the things I'm working on day to day and how I did them. I'll also include details about where I got my spare parts from, because it seems there are fewer out there for the K2 than there are for other models of the CT 90. I hope this has caught your interest and you'll continue to follow along. To finish, I've included some photos of various other parts below in their current state: